Hexo-Butterfly主题部署

基础操作

创建分类页面 categories

  • 意义:使文章根据定义的类别区分,方便整理
  • hexo语法:

    在hexo根目录下,输入 hexo new page categories

    在创建分类页面后,会出现source/categories/index.md文件,成功创建分类页面。
1
2
3
4
5
---
title: categories
date: 2024-06-21 16:16:42
type: "categories"
---

创建标签界面 tags

  • 意义:将文章根据标签归档,方便寻找
  • hexo语法:

    在hexo根目录下,输入 hexo new page tags

    在创建分类页面后,会出现source/tags/index.md文件,成功创建分类页面。
1
2
3
4
5
---
title: categories
date: 2024-06-21 16:16:42
type: "categories"
---

404错误页面

  • 方法:通过编辑配置文件themes/butterfly/_config.yml开启butterfly主题内置的404错误界面
1
2
3
4
error_404:
enable: true
subtitle: "页面没有找到"
background:
  • 用来放置友情链接的页面
  • hexo语法:

    在hexo目录下执行hexo new page link

    在执行命令后,会出现source/link/index.md文件,成功创建友链页面。
1
2
3
4
5
---
title: link
date: 2024-07-26 17:05:51
type: "link"
---

本地搜索local_search配置

  • 看了其它的搜索方式感觉对于我的blog,配置本地搜索就够用了,以下是配置教程
  1. 在hexo目录下安装hexo-generator-search
1
npm install hexo-generator-search --save
  1. 修改hexo的_config.yml文件(注意不是butterfly的_config.yml),添加以下代码
1
2
3
4
5
search:
path: search.xml
field: post
content: true
template: ./search.xml

如果你想用这串配置但是报错找不到文件,可以找到search.xml文件,并将它复制到hexo根目录下,就不会报错找不到文件了。(当然也可以根据自身情况更改配置)

  1. 修改butterfly主题的_config.yml(即官方文档中所说的_config.butterfly.yml)
1
2
3
4
5
6
7
8
9
local_search:
enable: true
# Preload the search data when the page loads.
preload: true
# Show top n results per article, show all results by setting to -1
top_n_per_article: 1
# Unescape html strings to the readable one.
unescape: false
CDN:
  1. 在hexo根目录重新编译运行
1
hexo cl && hexo generate

找到自己的网页,清空缓存硬刷新一下就可以看到效果了~

有些朋友私信我,弄出的local_search搜索框不是圆角,并且缩在左上角,像这类情况一般等一会就好了,不用调配置

Math数学公式渲染

  • 可以选择KaTeX和MathJax,这里推荐用KaTeX,以下步骤均为KaTeX的具体步骤

步骤

  1. 卸载 marked 插件,安装 hexo-renderer-markdown-it
1
2
3
4
5
npm un hexo-renderer-marked --save # 如果有安装这个的话,卸载
npm un hexo-renderer-kramed --save # 如果有安装这个的话,卸载
npm i hexo-renderer-markdown-it --save # 需要安装这个渲染插件
npm install katex @renbaoshuo/markdown-it-katex #需要安装这个katex插件

  1. 在 hexo 的根目录的 _config.yml 中配置
1
2
3
markdown:
plugins:
- '@renbaoshuo/markdown-it-katex'
  1. 在butterfly下的_config.yml 中配置
1
2
3
4
5
6
7
8
9
mathjax:
enable: false
per_page: false
# KaTeX
katex:
enable: true
per_page: false
hide_scrollbar: true
copy_tex: false
  1. 在butterfly下的_config.yml中手动配置css与js
1
2
3
4
5
inject:
head:
- <link rel="stylesheet" href="https://cdn.jsdelivr.net/npm/katex@0.11.1/dist/katex.css" integrity="sha384-bsHo4/LA+lkZv61JspMDQB9QP1TtO4IgOf2yYS+J6VdAYLVyx1c3XKcsHh0Vy8Ws" crossorigin="anonymous">
bottom:
- <script defer src="https://cdn.jsdelivr.net/npm/katex@0.11.1/dist/katex.js" integrity="sha384-4z8mjH4yIpuK9dIQGR1JwbrfYsStrNK6MP+2Enhue4eyo0XlBDXOIPc8b6ZU0ajz" crossorigin="anonymous"></script>

高级美化

AI生成摘要

  • 这里博主用的是TianliAI的摘要生成,有兴趣的小伙伴可以尝试一下,具体的配置步骤这里不做过多解释,毕竟官网上有明确详细的配置教程,这里简单说一下想要对默认的AI生成样式改动的问题

更改默认摘要名称与默认GPT名称

  1. 下载js默认文件
  2. 上传到服务器并更改js文件
  • 由于我们不做逻辑上的特殊处理,仅修改字符串内容,所以可以直接在压缩混淆的js文件内改动
1
2
3
4
5
6
7
8
9
10
11
//修改前
// 默认摘要题目
"undefined"==typeof tianliGPT_Title?a.textContent="AI摘要":a.textContent=tianliGPT_Title
// 默认摘要名称
"undefined"==typeof tianliGPT_Name?a.textContent="TianliGPT":a.textContent=tianliGPT_Name

// 修改后
// 默认摘要题目
"undefined"==typeof tianliGPT_Title?a.textContent="yourTitle":a.textContent=tianliGPT_Title
// 默认摘要名称
"undefined"==typeof tianliGPT_Name?a.textContent="yourName":a.textContent=tianliGPT_Name
  1. 修改butterfly下的_config.yml
  • 这里以butterfly主题为例子
1
2
3
4
5
6
7
# 将原本的js地址替换为你上传服务器文件的js地址
inject:
head:
- <link rel="stylesheet" href="https://cdn1.tianli0.top/gh/zhheo/Post-Abstract-AI@0.14/tianli_gpt.css">
bottom:
- <script>let tianliGPT_postSelector = '\#post \#article-container';let tianliGPT_key = 'yourKey';</script>
- <script src="yourJsAddress"></script>

指定某些文章生成ai摘要

  • 我们可以直接用tianliai自带的指定方式let tianliGPT_postURL = 'yourUrl';,这样可以指定某些文章能够生成ai摘要,从而避开其它无特征文章
1
2
3
4
5
6
7
# 在butterfly下_config.yml中找到inject,在引入yourJsAddress前加上
inject:
head:
- <link rel="stylesheet" href="https://cdn1.tianli0.top/gh/zhheo/Post-Abstract-AI@0.14/tianli_gpt.css">
bottom:
- <script>let tianliGPT_postSelector = '\#post \#article-container';let tianliGPT_key = 'yourKey';let tianliGPT_postURL = 'yourTargetPath';</script>
- <script src="yourJsAddress"></script>

毛玻璃模糊特效美化全局

前言

众所周知,MacOS的毛玻璃特效非常美观,于是博主打算模仿MacOS进行页面毛玻璃特效的优化处理,博主在网上查了各种各样关于butterfly进行毛玻璃模糊特效的配置资料教程,发现资料真的很少很少,而且大多都并没有什么实际效用,于是开始慢慢摸索。写下这篇也是为了能够弥补butterfly的毛玻璃模糊教程的缺失。

步骤

  1. 在butterfly的source/css文件中新建一个css文件custom.css
  2. 在css文件中处理模糊效果,这里由于博主是暗色主题,所以以暗色为基调做的css,对于浅色模式会出现色彩过于暗淡等问题,可以通过手动调节CSS源码解决
  • 在CSS中实现了全局模糊,包括全局背景模糊,顶部图模糊,底部图模糊等
  • 实现了recent-post-item透亮增强
  • 实现了移动端主页sidebar的透明度与高斯模糊效果
  • 注意第8行代码background填你的背景地址
1
2
3
4
5
6
7
8
9
10
11
12
13
14
15
16
17
18
19
20
21
22
23
24
25
26
27
28
29
30
31
32
33
34
35
36
37
38
39
40
41
42
43
44
45
46
47
48
49
50
51
52
53
54
55
56
57
58
59
60
61
62
63
64
65
66
67
68
69
70
71
72
73
74
75
76
77
78
79
80
81
82
83
84
85
86
87
88
89
90
91
92
93
94
95
96
97
98
99
100
101
102
103
104
105
106
107
108
109
110
111
112
113
114
115
116
117
118
119
120
121
122
123
124
125
126
127
128
129
130
131
132
133
134
135
136
137
138
139
140
141
142
143
144
145
146
147
148
149
150
151
152
153
154
155
156
157
158
159
160
161
162
163
164
165
166
167
168
169
170
171
172
173
174
175
176
/* 1. 全局背景模糊层 */
body::before {
content: "";
position: fixed;
top: 0;
left: 0;
width: 100vw;
height: 100vh;
background: url(yourBacgroundImg) center/cover no-repeat;
filter: blur(10px) brightness(0.68) contrast(1.1);
z-index: -999;
opacity: 0.92;
}

/* 2. 顶部图模糊 */
#page-header {
position: relative;
overflow: hidden;
isolation: isolate;
}
#page-header::before {
content: "";
position: absolute;
top: 0;
left: 0;
width: 100%;
height: 100%;
background: inherit;
filter: blur(6px) brightness(0.78);
backdrop-filter: blur(6px) saturate(1.3);
-webkit-backdrop-filter: blur(6px) saturate(1.3);
z-index: -1;
box-shadow: inset 0 0 12px rgba(215, 215, 215, 0.09);
clip-path: inset(0 round 0);
}

/* 3. 底部图模糊 */
#footer {
position: relative;
overflow: hidden;
isolation: isolate;
}
#footer::before {
content: "";
position: absolute;
top: 0;
left: 0;
width: 100%;
height: 100%;
background: inherit;
filter: blur(6px) brightness(0.78);
backdrop-filter: blur(6px) saturate(1.3);
-webkit-backdrop-filter: blur(6px) saturate(1.3);
z-index: -1;
box-shadow: inset 0 0 12px rgba(215, 215, 215, 0.09);
clip-path: inset(0 round 0);
}

/* 4. 内容区玻璃面板 */
/* 4.1 通用卡片样式 */
#aside-content .card-widget,
.layout #post {
background: rgba(38, 38, 48, 0.64);
backdrop-filter: blur(8px) saturate(1.4);
-webkit-backdrop-filter: blur(8px) saturate(1.4);
border: 1px solid rgba(205, 205, 205, 0.13);
box-shadow: 0 8px 24px rgba(0, 0, 0, 0.4);
border-radius: 8px;
}

/* 4.2 极致透亮recent-post-item */
.recent-post-item {
position: relative;
background: rgba(55, 55, 65, 0.35) !important;
backdrop-filter: blur(8px) saturate(2) !important; /* 最大饱和度 */
-webkit-backdrop-filter: blur(8px) saturate(2) !important;
border: 1px solid rgba(240, 240, 240, 0.07) !important; /* 极淡边框 */
box-shadow:
0 5px 18px rgba(0, 0, 0, 0.2),
inset 0 1px 1px rgba(255, 255, 255, 0.1) !important;
border-radius: 8px !important;
overflow: hidden;
isolation: isolate;
z-index: 0;
}

/* 透光增强层(极致透亮) */
.recent-post-item::before {
content: "";
position: absolute;
top: 0;
left: 0;
right: 0;
bottom: 0;
background: rgba(60, 60, 70, 0.3) !important; /* 极限透明度 */
backdrop-filter: blur(10px) saturate(2.2) !important; /* 突破常规饱和度 */
-webkit-backdrop-filter: blur(10px) saturate(2.2) !important;
z-index: -1;
border-radius: 8px;
}

/* 内容提升层级 */
.recent-post-item > * {
position: relative;
z-index: 1;
}

/* 5. 文字可读性增强(适配高透亮) */
#page-header .post-title,
.post-meta,
.layout #post .post-content,
.recent-post-item .post-title,
.recent-post-item .post-meta {
text-shadow:
0 1px 4px rgba(0, 0, 0, 0.9), /* 更深阴影保持可读性 */
0 0 8px rgba(230, 230, 230, 0.15);
color: rgba(248, 248, 255, 0.98); /* 纯白文字 */
}

/* 6. 暗色模式适配(保持透亮) */
html[data-theme="dark"] {
#page-header::before,
#footer::before {
box-shadow: inset 0 0 15px rgba(210, 210, 210, 0.1);
}

.recent-post-item,
.recent-post-item::before {
background: rgba(40, 40, 50, 0.4) !important;
border-color: rgba(220, 220, 220, 0.09) !important;
}

#aside-content .card-widget,
.layout #post {
background: rgba(28, 28, 38, 0.65);
}
}

/* 7. 移动端优化 */
@media (max-width: 768px) {
body::before {
filter: blur(6px) brightness(0.7);
}

/* 移动端recent-post-item透亮 */
.recent-post-item {
background: rgba(60, 60, 70, 0.3) !important;
backdrop-filter: blur(6px) saturate(2.2) !important;
-webkit-backdrop-filter: blur(6px) saturate(2.2) !important;
}

.recent-post-item::before {
backdrop-filter: blur(7px) saturate(2.3) !important;
-webkit-backdrop-filter: blur(7px) saturate(2.3) !important;
}

/* 移动端侧边栏 */
#sidebar-menus {
background: rgba(45, 45, 55, 0.65) !important;
backdrop-filter: blur(12px) saturate(1.8);
-webkit-backdrop-filter: blur(12px) saturate(1.8);
}
#sidebar-menus .menus_item {
background: rgba(55, 55, 65, 0.5) !important;
}
}

/* 8. 其他必要样式 */
#web_bg {
display: none !important;
}
#mobile-sidebar-menus {
backdrop-filter: blur(8px);
-webkit-backdrop-filter: blur(8px);
background: rgba(50, 50, 60, 0.7);
}
  1. 在butterfly下的_config.yml文件中引入css文件
1
2
3
inject:
head:
- <link rel="stylesheet" href="/css/custom.css" />

图片压缩处理

  • 网站上的图片需要经过压缩处理,这样能减少图片所占用的内存空间,能使用户方有更好的浏览体验,同时也能提高SEO。
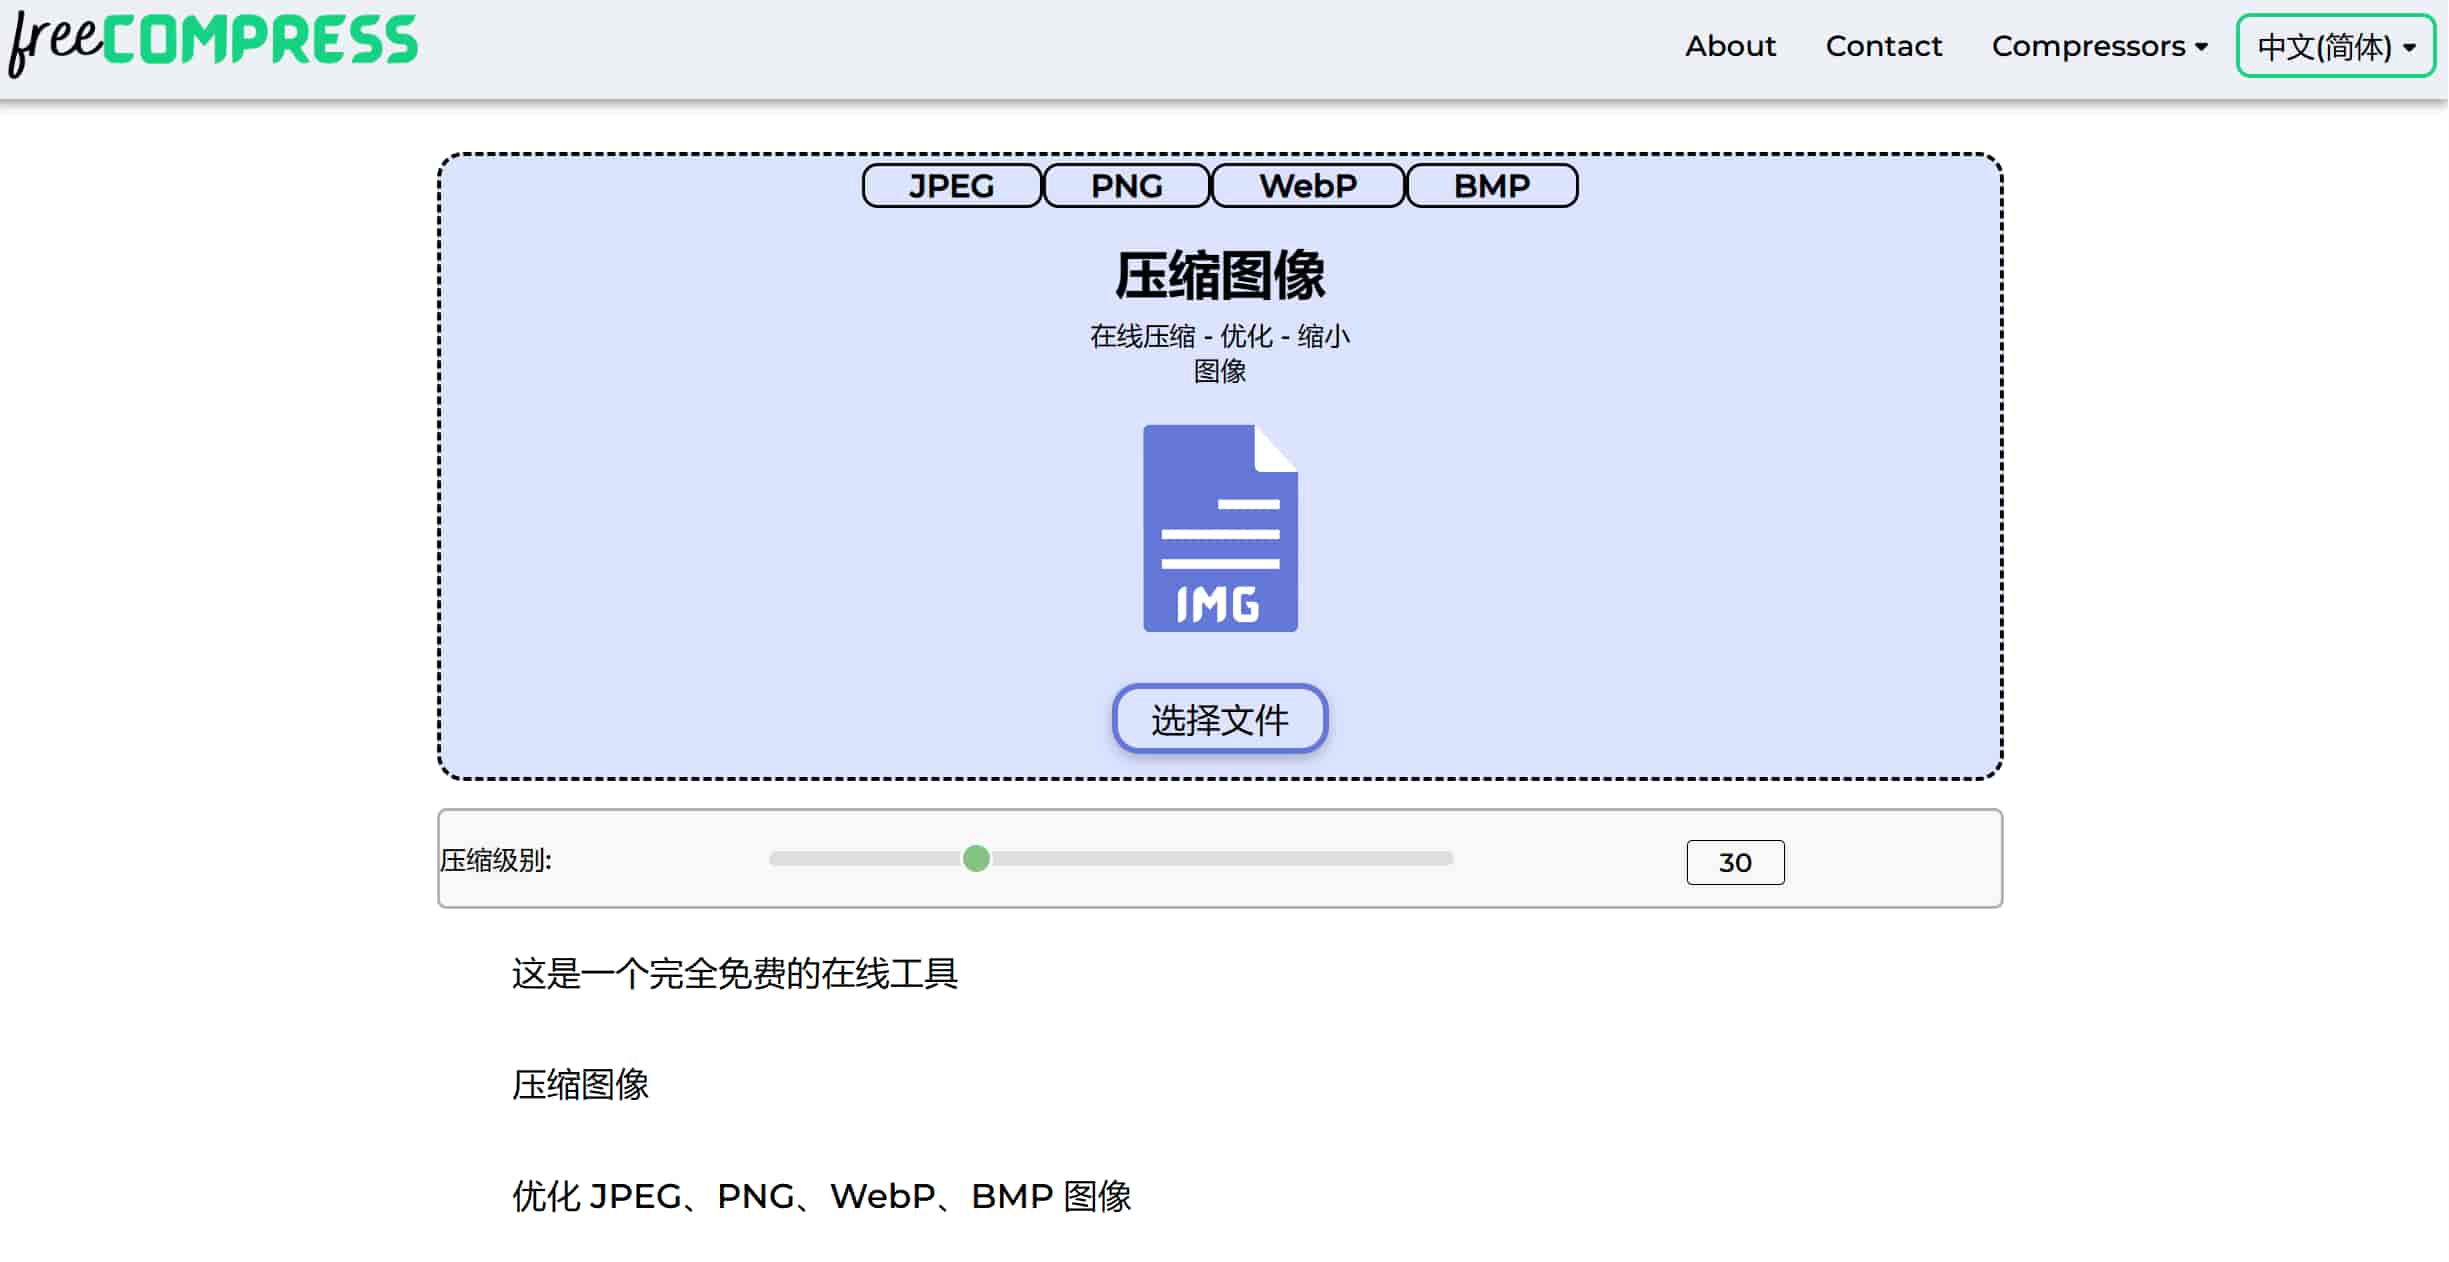
  • 压缩处理网站:freecompress

    freecompress
  1. 实测freecompress压缩图片好用,能够调节压缩级别,自定义压缩等级。

  2. 支持JPEG,PNG,WebP,BMP格式文件

  3. 不收取任何费用,网页中有详细使用方法,这里不过多介绍。